Showing posts with label guest post. Show all posts

Friday, 30 January 2015

Stray Thoughts and Snapshots


iPhone 5S: Camera+, VSCOcam, Mextures, Stackables, PicFx, DistressedFx


Joy does not simply happen to us.
We must choose joy and
keep choosing it every day.

Henri J.M. Nouwen


iPhone 5S: Camera+, Snapseed, VSCOcam, RhonnaDesigns - Textures by FrenchKiss & Coppercurls Designs

Goodwill is reciprocal.
The good thoughts you send out to others
will return to you multiplied.

Grenville Kleiser


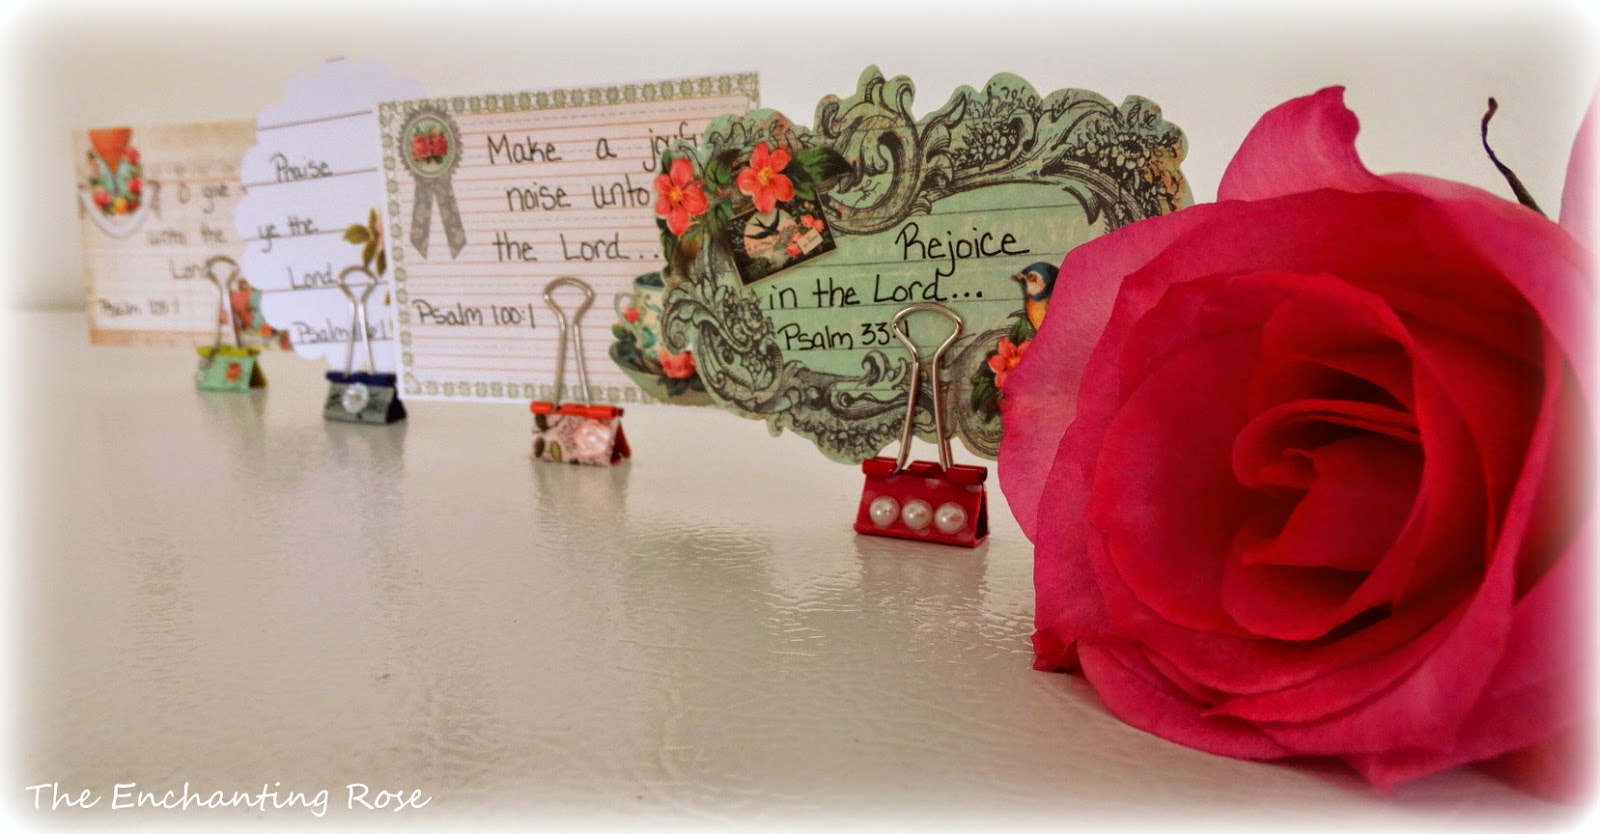
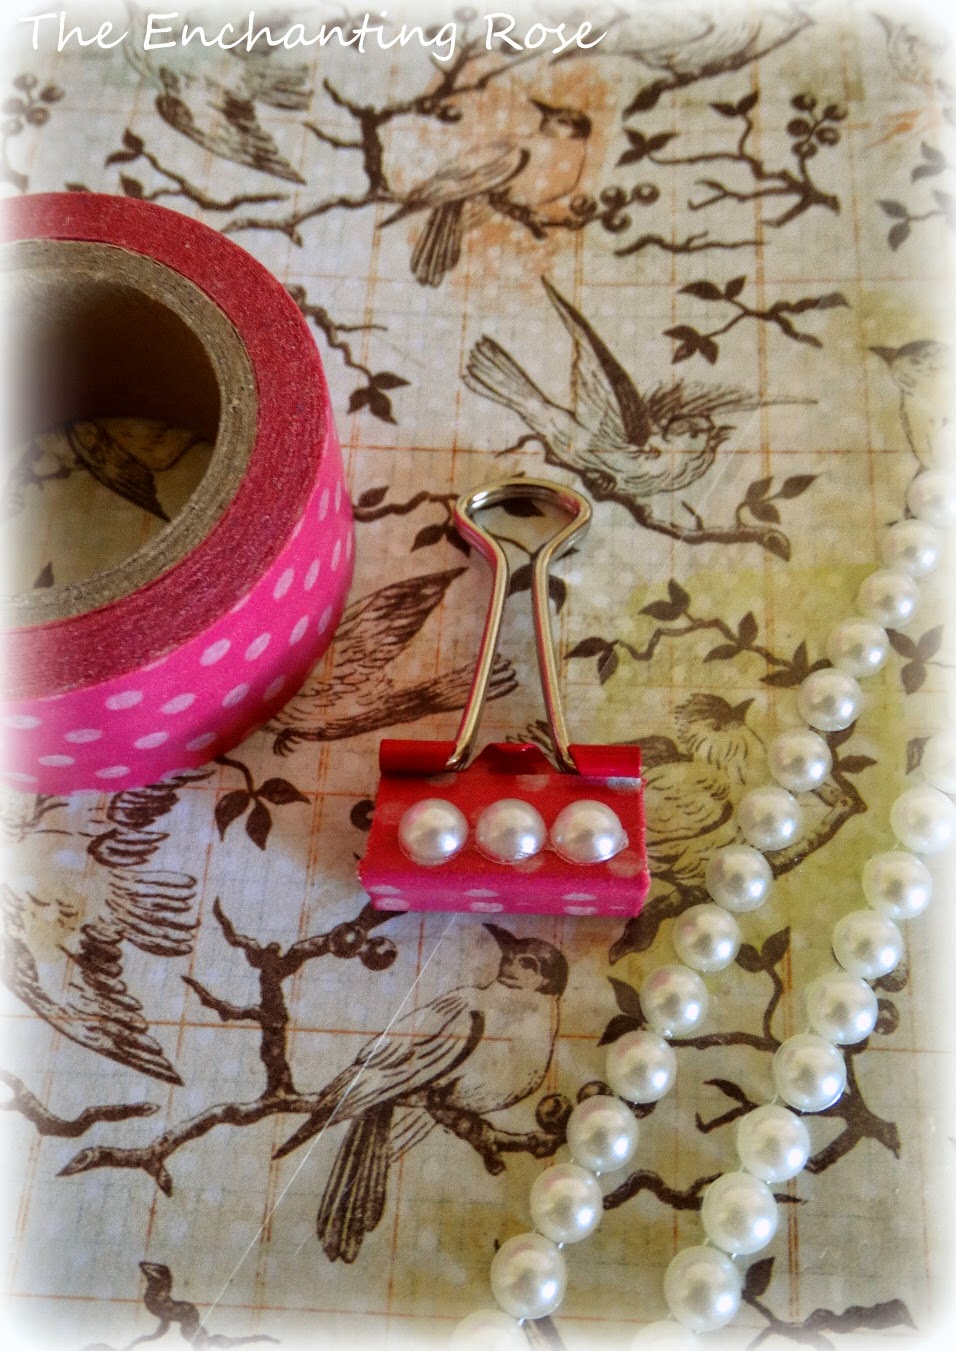
A dear and inspiring friend, Amanda from the Wildly Simple -blog, wrote about her 10 Goals for 2015. One of her goals is to send a handwritten note so someone each week -  Ins't it right that one of the best surprises is to open your mailbox and see a handwritten card or an envelope from a friend! I was inspired by Amanda's goal and will also be sending a weekly card or a note ... In the good, old fashioned way: Handwritten and in an envelope. 

iPhone 5S: Camera+, Snapseed, ClassicVintagePhotoApp, ImageBlender

This sweet fellow above keeps me company at my office. I found this furry buddy in the bottom of a box in flee market - and I was sold that very moment!


iPhone 5S: Snapseed, Glaze, Stackables, DistressedFx - Textures by FrenchKiss & Coppercurls Designs

A dream, strayed into daylight.

C.S.Lewis

The weather has been sunny, cloudy, rainy ... It's been windy and still, and we've gotten a few snow flakes as well. 

It is lovely to notice that the days are getting longer - it is not completely dark anymore, when I'm biking to work in the mornings...

Waking up this morning, I smile. 
Twenty-four brand new hours are before me. 
I vow to live fully in each moment.

Thich Nhat Hanh

... Weekend greetings,

Nina

Wednesday, 7 January 2015

Create a Frosty Window-effect with Classic Vintage Photo Editor


Classic Vintage Photo Editor is one of my favourite mobile photo applications in creating silky and frosty effects to my iPhone photos. I will here show you can create a Frosty Window effect using Classic Vintage Photo Editor and Image Blender iPhone applications.

This is the original image, which I have taken with iPhone 5S, using the external Olloclip macro lens, that I attached to my iPhone for taking this close-up photo.


Tutorial: 9 Steps to Create a frosty Window-Effect

Open the photo you wish to edit in the Classic Vintage Photo Editor. You will see that the app will automatically apply random effect layers on your photo - You need to start with setting the effect of these layers to 0% opacity: 

1. As shown below, choose the Sepia effect, and adjust it to 0% opacity.


2. Then, in the same way, choose the Border effect, and adjust it to 0% opacity.

3. Now choose the Crackle effect, and choose the Nevada layer from the right (shown below - number 8 from the top), and adjust the opacity of the layer to 50%. 


4. Do the same with the Paper layer - Choose the Nevada-effect shown to the right, that is, number 2 from the top, and set it also to 50% opacity. 


5. That was easy, wasn't it! Now you have finished editing your photo in the Classic Vintage Photo app, and it is time to save the photo on your camera roll: 
Choose Share, and photo library - now your image is saved in the camera roll of your iPhone.


I wanted to remove the frosty effect from the middle of my photo - to get the sharpness and clarity of my original image to the center point - and I used Image Blender app for this. 

So from now on, we proceed in the Image Blender app:

6. Open first your original image in the Image Blender app, by clicking the icon in the lower left corner - your camera roll opens, and you can now choose your original image.


7. Then click the lower right icon, and choose the Frosty Window from your camera roll.


8. Choose the Mask option, and remove the Frosty Window effect from the desired area of your photo. Click the Save option in the upper right order. 


9. Then set the opacity continuum all the way to the right, so you can see the Frosty Effect photo, now with a clear and sharp (your original image) being visible in the middle - and save your image to your camera roll.


And, that's it - 9 easy steps to create a beautiful, winter image ... Like looking through a Frosty Window. This is my favourite combination at the moment in Classic Vintage Photo Editor.


What are your favourite apps at the moment? 

Come and link your recent mobile photos to App Happy Wednesday hosted by Barb at Keeping With The Times.

... With App-Happy greetings,
Nina


Classic Vintage Photo Editor is at the moment free in the App Store. Image Blender is available in App Store for $ 2,99. 


Sunday, 5 October 2014

Accepting the Lot of Life


... and He allows them to accept their lot in life and
 to enjoy hard work. 
This is God’s gift.

Ecclesiastes 5:19 The Voice

:   :   :


Blessings to your week, 

Nina


of Ecclesiastes 5:19 for you 


Sharing with: 


Photo: iPhone 5, Camera+, Snapseed, VSCOcam, Mextures & ImageBlender
Texture by Coppercurl Designs, LR preset Oldendays by Kim Klassen

Friday, 8 August 2014

Charming DIY by Stephanie from The Enchanting Rose

I am happy to present you Stephanie from The Enchanting Rose - 
Thank you Stephanie for taking time to write a guest post with this charming & pretty DIY tutorial!

I am smitten by Stephanie's creativity and her positive view on life and living - her mild, cheerful spirit shines through her blog posts and the social blog events, she arranges. 

Be inspired by my special blogging friend Stephanie by popping over to The Enchanting Rose!

- - -

A cheery good day to you!
My name is Stephanie and I blog over at
My little place consists of crafts, sewing, recipes, hymns, tea cups, 
and sweet encouragement from the Bible.
It is a great honor to be posting on Nina's blog today.
Nina is a dear blogging friend of mine and she is someone I have come to admire.
Her photography skills leave me speechless and begging for more
and the Biblical encouragement she shares always leaves me refreshed and renewed.

* * * * *

I am looking forward to sharing with you a simple craft that all of us can do :)


I had a few binder clips hanging around and I must admit that I've had these for at least 10 years 
and have never used them - pretty sad that they have sat in a drawer for that long.
I thought instead of holding papers together,
they would be perfect for holding little cards with Scripture written on them.


I like having verses out in my home where I can constantly see God's Words
so this seemed like the perfect solution for the long-forgotten paper clips.
They would also work for holding pictures, recipe cards, etc. . .

Items Needed:
binder clips
Washi tape or fabric tape
embellishments - pearls, rhinestones, etc
scissors


Apply a piece of Washi or fabric tape to the binder clip
and then trim the edges.
Fold the excess tape onto the bottom.


Add the desired embellishments for pretty decoration.


Then, write out Scripture verses or encouraging quotes onto some lovely paper
and voila! You're all done :)


Scatter the Scripture around the home or office space
for blessed encouragement throughout the day.


My heartfelt thanks to sweet Nina for allowing me to share on her delightful blog.
Many blessings to you, lovely lady.

I always enjoy meeting new people so feel free to drop by 


{PS. I am away from the blog - this is posted with the help of Bloggers pre-post planner}

Tuesday, 29 July 2014

Guest Post by Sarah Carletti

I am excited to introduce Sarah Carletti, a talented photographer, whose beautiful portrait, nature and macro photography is of great inspiration to me. I have learned to know Sarah through a community of blogging photographers, and I am so happy she was willing to write a guest post on my blog. Moreover, I am smitten by Sarah's gentleness and her sweet spirit - learn more of her by visiting Sarah Carletti Photography.


All the earth worships you and sings praises to you; they sing praises to your name. 
Psalm 66:4

Hello, my name is Sarah and I am an amateur photographer. If you visit my blog you will quickly notice that I photograph lots of flowers and nature. While I love the landscape photography that portrays grand vistas, I tend to look close at the Earth and focus on the small things I see. There is such beauty in even the smallest of nature. 
When I photograph a beautiful flower or plant, the details remind me of how sovereign and majestic the Lord is! He is many things, but He is creator.

A lone flower in Spring.

Beautiful flowers along the alley.

When I go out to photograph, here are some things I look for: 

1) Light: Morning light is my favorite light to photograph flowers and plants. In the picture above, I was able to shoot almost into the sun and not get any lens flare. 

2) Color: Nature provides such an abundance of colors. Need I say more?

3) Texture: Also, things such as grass, moss, bark, sheen and seeds all make for great focal points when considering how to photograph your subject.

4) Depth of Field: I love to focus on a subject by using a shallow depth of field. In general I may use an f-stop of 1.8 to 2.8 depending on the size of the flower and what I am focusing on. In the photograph below, there is an ugly flower-bed and a mixture of early Spring, brown and green grass in the background. By using a shallow depth of the field, the colors are blurred and the flower is the focus.


5) Background: In the photo below I chose to shoot from above for two reasons - I didn't like what was behind the flower but I loved what was below it. The pink adds interest to the pristine tulip. I'm constantly moving around to find the best shot. For each person that may look different.


This is just a quick round up of my photography and style. I am so honored that Nina would ask me to guest post and I am very glad to be here! Feel free to stop by sometime and say hello! Many blessings to you.

BLOG  -  FACEBOOK  -  G+

Sincerely,
Sarah Carletti
//